

Recently, on a sunny day in western Colorado, the stars and planets aligned in a once in a lifetime miraculous event and my kitchen was clean enough to take photos!! Can you believe it? Really, it will not likely happen again anytime in the near future, so you will have to bear with my gazillion photos today. I need something happy to look back on when things are out of control over here!
Back in January, I shared a post entitled "Permission to Nest"
where I talked about finally letting myself treat this house as our home.
I was going through a divorce when we (my four kids and I) left the family home my husband and I owned and moved into the town home we currently rent. Up until that point I was just not mentally or emotionally capable of investing myself into decorating (or getting too attached to) a place that may be temporary for us.
Well, we've now lived in this home for almost 2-1/2 years. I still don't know what might happen from one month to the next, but I'm in a place now where I am comfortable investing some effort to make this place feel more like "me", regardless of what might happen next.
So what does all this have to do with my current kitchen?

This is my kitchen the day we started moving in, January of 2011.
What's wrong with it? Absolutely nothing! {except bad photography- haha}
It's a kitchen lots of people would love to have, regardless of how (or whether) it's decorated. It was brand new construction and we were the first to ever live in this home. I truly am blessed to have this kitchen!
The thing is, it just wasn't me. Gosh, I hope this doesn't sound too petty. It's just that after living here for some time, I was finally ready to add a little charm to this quite contemporary space. How did I accomplish a look that's more my style, without looking out of place with the house's style? And how did I do it without spending much money?
I'd love it if you'd come with me on a little tour of my space!


If I owned this home, I would probably want to paint the cabinets. Since that isn't possible, one of the things I've done is add a few painted pieces of furniture, like this blue stool. There's just something about a painted piece that softens the somewhat "hard" feeling of all the wood and granite. This stool was given to me by a friend when she moved away. In fact there are several things in this kitchen that were gifts from that same friend. Thanks, Dina!

This kitchen has no backsplash. I really wanted something behind the stove because it can get messy back there. The piece that looks like a ceiling tin is actually a plastic material. It's a leftover from the previous house (purchased at Lowe's). I like that it has a vintage look, but still blends well with the contemporary appliances. Plus-I already had it! Now remember, that's the main thing when you're decorating with no budget-shop your own stuff!


To the right of the stove I had an opportunity to add another piece where there is no backsplash. This chippy wood panel came from a curbside antique door (I only managed to get half the door-ugh! Story for another day) I cleaned it and smoothed down the peeling paint by lightly sanding it and then covered it with a coat of polyurethane.


In my humble opinion, ironstone always seems to bridge the gap between design styles. A vintage glass and my grandmother's cow creamer hold measuring spoons.

To the left of the stove I have another small wood plank panel in place of a backsplash. This was another curbside find that I painted white and distressed a bit. I hope I'm not grossing you out with all these curbside things in my kitchen! : )


Here I'm using it with a vintage canning rack holding a plate of apples.


In this corner I'm using a wooden box turned on it's side to hold my coffee supplies.


I've had this hanging rack for years, and it holds plenty of cups!


This French blue shelf is one of my favorite pieces! I've had it in the master bathroom since we moved in, but I recently decided to move it down here to the kitchen where I can enjoy it for most of my day!


It's kind of fun to make the necessities look pretty. I'm using an ironstone dish next to the sink to hold soaps and scrubbers.

To the right of the sink, a little painted stool that I bought for my son when he was a toddler now holds a stack of oval Homer Laughlin plates (they were 50 cents each at a thrift store)

The white tray I've had for many years. It actually has legs that fold up, so it can be used as a bed tray. In fact, my kids used this to bring breakfast up to my room on Mother's Day.


Not only is this chippy, rusty old advertising thermometer cute, it has sentimental value to me, as well. It's another of many items I'm lucky enough to have that belonged to my dear grandparents.

Baskets are another of my favorite items to add a little warmth to a more contemporary space. Plus they are just great for organizing and storing necessary items, like these kitchen towels.
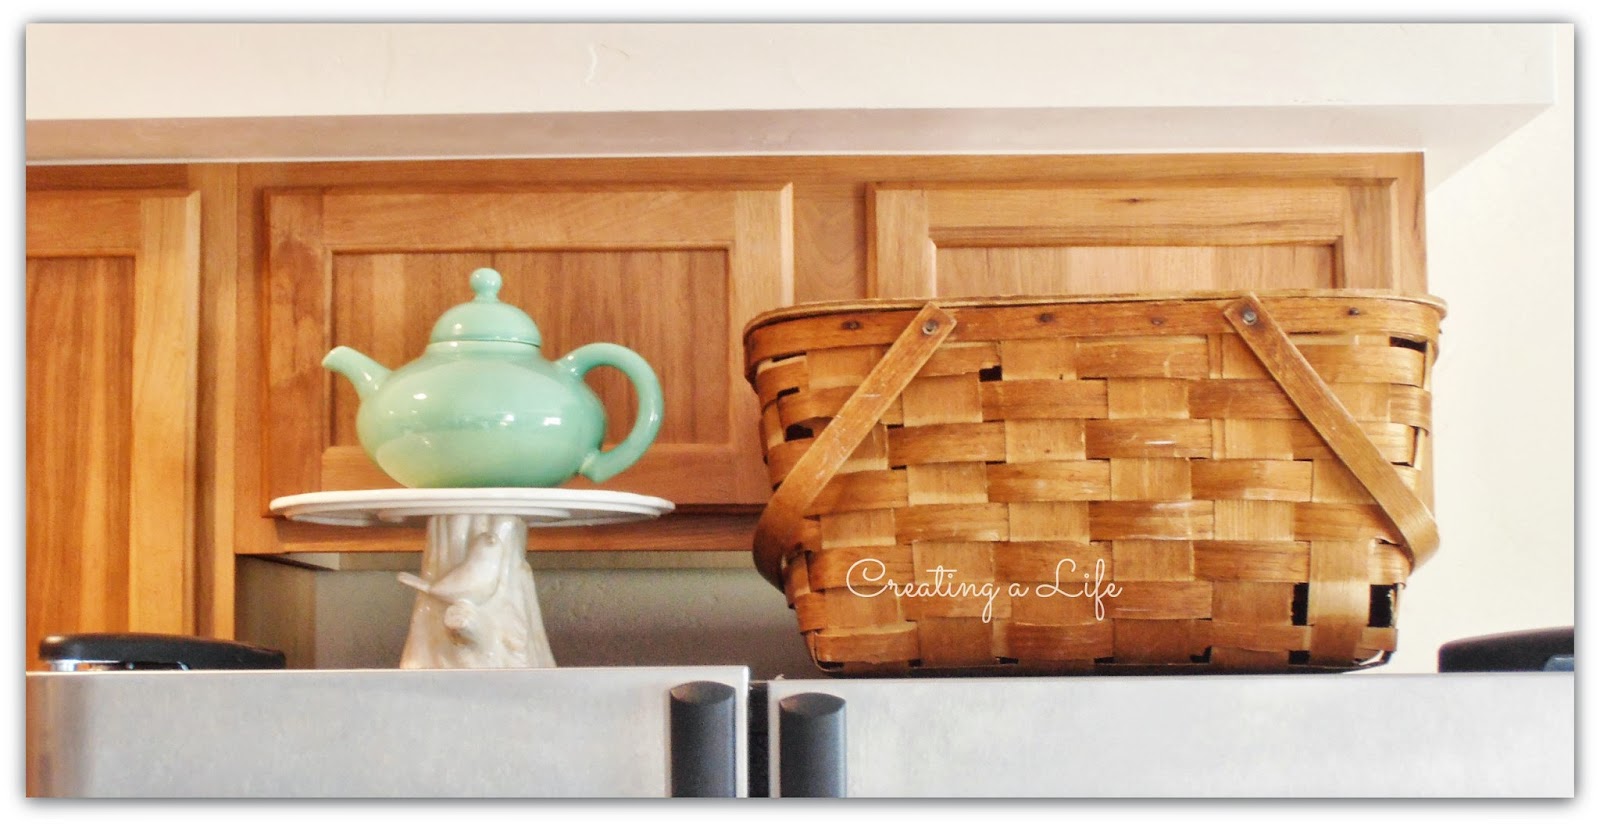
I told you the sweet story of this picnic basket over here.
Can you believe my son-in-law bought me this darling vintage teapot for Mother's Day? I showed you the lovely things my daughter gave me for Mother's Day in my last post, so I was very surprised that he wanted to give me something that was just from him. I love it!

On the average day, this entire island counter is usually covered with papers, schoolbooks and art supplies. I hate to spoil the illusion, but we really do live in this area of the house most of the day long, and it looks really lived in most of the time. It was really good for me to pretty things up and know that it can look nice :)

I pulled together some random thrift store parts to create this large candle holder. The wire base is from a planter I've had for years. The glass part I picked up last year at the local second hand shop. It's beautiful hand blown glass from a hotel light fixture, I believe. They were asking more than I was willing to pay, but I think I talked them into letting me have it for $3.00. I put a round piece of wood in the bottom of the wire basket and placed a candle and the glass piece on top, and voila! I love the way it looks!


At the end of the island counter I have another {you guessed it} curbside find. It was a dark brown planter box when I picked it up. I cleaned it up and painted it and now it holds jars of flatware and utensils. Sometimes math papers...toys...markers...


At the very end of the island counter I've found it's very helpful for a messy crafter like me to keep a small chest of drawers for supplies.

It's another opportunity to incorporate a painted piece, again softening all the hardness of wood and granite with a little cottage charm.

This piece is extra special to me. First, because it belonged to my grandma. Second, because all four of my kids have had this piece in their rooms growing up. When I was expecting my last child, (was that really six years ago?!) I re-painted it, added the red handles and decoupaged some sweet little vintage baby images on the drawers. It's been in my son's room up until about a week ago. I know it's kind of baby-ish for a house with no babies, but I just haven't been able to bring myself to change it yet. You understand :)


Whew! I know this was a super long post, and you are all troopers for sticking with me to the end!
I've tried to create a balance, infusing some vintage charm without overwhelming the space with things that are not appropriate for the style of the home. It's become a comfortable place for my family, so I guess that's what's most important.
By the way, the items in the kitchen that were purchased since we moved into this house 2-1/2 years ago total about $25.00 spent.
If you're a vintage-loving person like me, living in a contemporary space can feel a little challenging. I hope I've given you a few ideas about how to incorporate a bit of that charm we love so much into your own home as well.
Thank you all for reading, friends!
Have a blessed week-
Jeanette
Come join me this week over at
Make the Scene Monday at Alderberry Hill
Make It Pretty Monday at The Dedicated House
Metamorphosis Monday at Between Naps on the Porch
Creative Bloggers Party at Homemaker on a Dime
The Scoop
Inspire Me Tuesday at A Stroll Thru Life
Budget Decorating Party at Creative Cain Cabin
Knick of Time Tuesday
Nifty Thrifty Tuesday at Coastal Charm
Tweak It Tuesday at Cozy Little House
Pretty Things at twelveOeight
Wow Us Wednesdays at Savvy Southern Style
Tutorials Tips and Tidbits at StoneGable
Share Your Cup Thursday at Have a Daily Cup of Mrs. Olson
Creative Inspirations at Embracing Change
Transformation Thursday at The Shabby Creek Cottage
The Weekly Creative at Reasons to Skip the Housework
Feathered Nest Friday at French Country Cottage
Be Inspired at Common Ground
Home Sweet Home at The Charm of Home
Party Junk at Funky Junk Interiors


