Related Posts Plugin for WordPress, Blogger...

Friday, May 31, 2013

Burlap "Cards" Banner

Where did this past week {or month!} go? I feel like I blinked and Friday is upon us and June is at the doorstep. 


In my last post I told you how I've been working on a few wedding crafts for a friend who's getting married in a few weeks. 
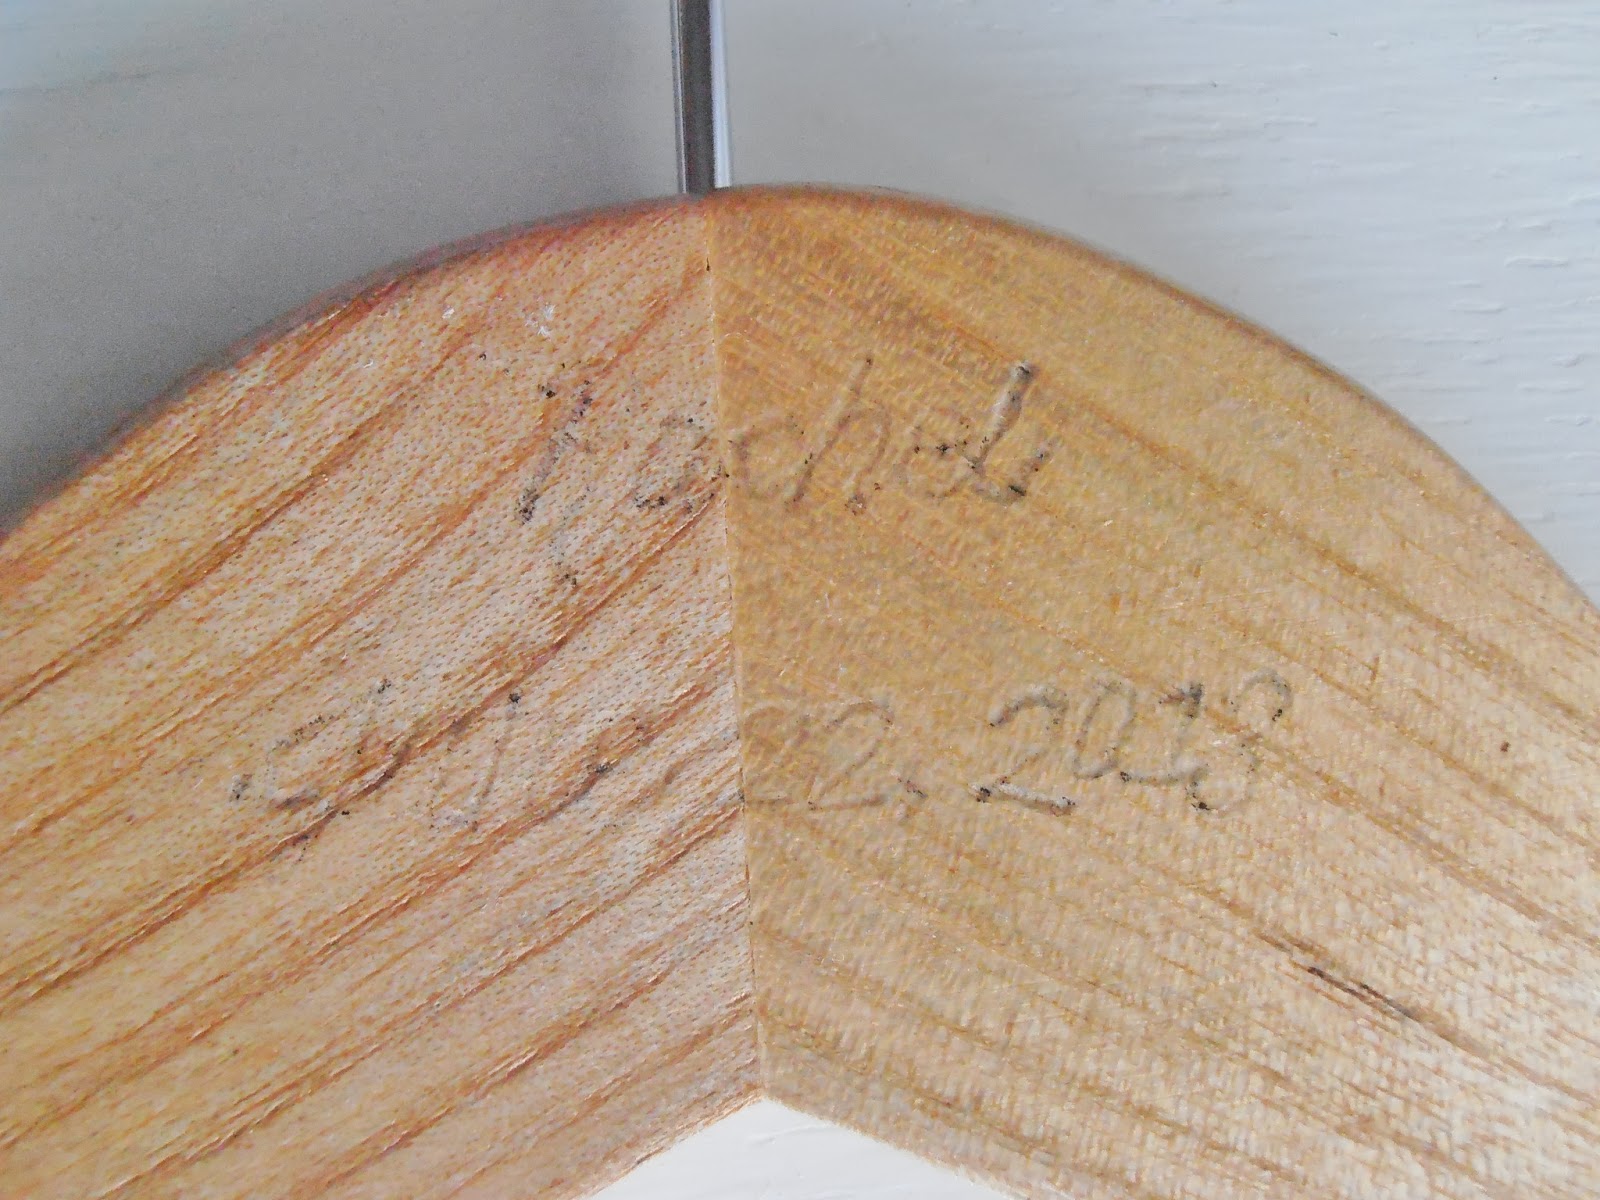
I made some personalized hangers that the bride-to-be will give to her wedding party girls. 


On a quick side note, this is the burlap, lace and vintage sheet music flag banner that the groom's mom and I made for their shower. It's not a good photo, I know. It says, "Gettin' Hitched" : )


And I just had to show you this darling outdoor seating area that the shower hostess created from pallets. So cute!

Okay, back to the subject at hand : )

Today I'll show you another fun, simple project I did for the reception.  

  
The bride-to-be brought me this darling little suitcase that they want to use as a place for guests to put their cards for the bride and groom at the reception. She asked me to create a little banner to hang across the open lid of the suitcase. I'm sure many of you have seen this same idea on Pinterest and other wedding sites. 


She gave me free reign to use whatever I wanted to create the banner. I could use fabric, paper, etc. They are having an outdoor,  country vintage style wedding-think lace, burlap, mason jars, some hay bale seating, etc. Fun! 

I decided I'd go with burlap for this little project. I still had a scrap piece left from my first burlap project and it suited the theme. Perfect.


Being an outdoor setting, and likely to be a bit windy, I decided I'd use some heavy cardboard pieces to back the burlap. Hopefully this will keep it a little more stable. The cardboard was just scrap packing grids in a discarded box.


 I visually estimated, and cut the size of the burlap rectangles I'd need to cover the opening, then cut cardboard rectangles a little smaller for the back. Using my trusty (and ancient) vinyl stencil and a black ink pad I added each letter to the burlap just using my finger.


Of course you could do this with paint or permanent marker, also.


At this point I straightened the edges a bit and then pulled a few strands from each edge giving them a frayed look. 


 Using hot glue, I attached the cardboard pieces to the back of each piece of burlap. 


 I used some fairly heavy twine to create the hanging line. I didn't get a photo of just the line across the front of the suitcase lid, but you understand. This particular suitcase had some upholstery tack nail heads on the lid so it was very simple to wrap the twine around those. This won't show when this is on the card table, it will be on the back of the open lid.


I used some mini clothespins I already had to hang each letter across the twine. 


Such an easy and fun little detail to add personality to a wedding, birthday or other celebration! It really is an honor to create even a humble detail like this for someone's wedding. Next I'll be working on some chalkboards and signs for the ceremony and reception. Stay tuned!

Have a wonderful weekend, friends!

Jeanette

Sharing over at...

Fabulously Creative Friday at Jennifer Rizzo 
Party Junk at Funky Junk Interiors 
Blitzed on Pinterest at On Sutton Place 
  and Debbie-doo's 


Tuesday, May 28, 2013

Personalized Hangers


Summer wedding season is here! Even though no one in my own family is getting married right now, I never get tired of looking at (and pinning) creative wedding and party ideas. 

Recently, I was asked to help with a few projects for a friend's wedding and I thought I'd share a couple of those things with you this week. 

The bride asked me to make some personalized hangers for her wedding party girls, and I love this project because it could be a sweet and personal gift for so many different occasions. 

Here's what I did-


 First I printed the girls' names and the wedding date in a pretty font {Wisdom Script, for those interested}from my word processor. 


I cut each name and date out and placed it where I wanted it to be transferred to the hanger. I slipped a small piece of carbon paper behind it and taped it in place so it wouldn't move around while I did the transfer.


I know there are lots of different transfer methods around these days, so you can use whatever method you're comfortable with, of course. 

 {can you tell I was doing a burlap project on this same table??}

 Anyone remember pre-computer/home copier days when you had to use a typewriter and carbon paper for multiple copies of a document?? Yes, I'm that old : )


I slowly and carefully traced over the letters with a fine point pen, transferring the words to the hanger. Most of them were darker than this, but you get the idea. You just need to be able to see it enough to go over it with marker. 
One little tip here: If you are using new wooden hangers, they have a hard glossy finish to them that the carbon and markers won't stick to. I lightly sanded the area first, and then used a clear sealer over the whole thing when I was finished. This probably wouldn't be an issue if using vintage hangers.


Then I carefully traced over the transfer with a fine point permanent marker. 


Add a pretty ribbon, and there you have it! A personal, practical, economical keepsake gift for your bridesmaids or for any occasion. 
Pop over here to see another type of hanger I did for my friend's birthday a few months ago, using a painted vintage hanger. 

I'll be back soon to show you another little project for the same wedding!

Blessings-

Jeanette


Sharing over at-


Friday, May 24, 2013

Reclaiming Outdoor Space


There seems to be a theme happening over here of trying to reclaim neglected areas of our home to make it more "us".


Well, isn't this pretty? Yeah, not so much. I'm not sure I can really say we are "re-claiming" this space, because I don't think we ever claimed it in the first place!
Our home has a partially finished walk-out basement that opens out to this area. It's  approximately 10 x 30, with a very small concrete patio....


...lots of gravel, an unattractive and noisy A/C unit and a super cute almost-6-year-old boy : )


Above this area we have a comfortable, cozy and much used back porch.
But down here in the summer it can be very hot, uncomfortable and unpleasant. In the past we've had a little plastic pool down here for the younger kids, but it disintegrated over the winter, and I'm not sure if we'll get another one this year or not.


It really does have potential for a cool hang-out space, so today the kids and I started cleaning it up a bit, and trying out a few ideas. They are anxious to claim this as usable kid space, so they were more than willing to help with things like hosing down an outdoor rug! {and little brothers}


My 15 year old helped me hang my mason jar chandelier 
over a table on the patio. 


I messed around with bringing a few pretty things out. Then it occurred to me that all this glass hanging in an area where the kids will be playing might not be the smartest idea! Bummer...


Oh well, it was fun to take a few pictures anyway. Can you believe this is all that's left of my Lilac mission?
So sad that they don't last longer. I might try to go cut some more this week before they're all gone for the season. 


Over the next several days I'll be trying to really pull this outdoor space together. As always, there will be no budget and I will have to be extra creative with things we already have around so I can come through, and give my kids an awesome outdoor area for the summer! I'll show you what I come up with soon {hopefully!}.


But just for a moment, can't a mom dream about candles and Lilacs? 

See you soon, friends!

Jeanette

Wednesday, May 22, 2013

Lilacs in May

Yesterday I was on a mission to find some Lilacs for my table {without paying for them, of course} I took you along with me on the scenic route as we meandered the afternoon away on the back roads of our county. 

Today I just wanted to show you a few photos of them on my table. I didn't have time to set the table, but the Lilacs are just so gorgeous on their own, it really doesn't matter.
When I came downstairs this morning the room was filled with their beautiful fragrance!


Thanks so much for coming by and sharing the sweet, simple joy of Lilacs in May with me!

Jeanette

Sharing over at:

Tutorials Tips and Tidbits at StoneGable 
Feathered Nest Friday at French Country Cottage 
Home Sweet Home at The Charm of Home 
Be Inspired at Common Ground 
Simple and Sweet Fridays at Rooted in Thyme 


Tuesday, May 21, 2013

On the Way to the Lilacs

I have seen so many gorgeous photos of Lilacs this week! In our previous two homes we had beautiful Lilacs in our yard, and I've missed that so much. Thankfully, the area we live in has them growing abundantly, so I set out today to find some to cut and bring home. 

I decided to pack a picnic for the kids and take the scenic route on my Lilac mission. 

Come on along and I'll show you some of the sights on the way to the Lilacs!


We live in a very typical suburban-looking neighborhood, but all around our neighborhood is farm and ranch country. Today especially, I felt like Colorado in May is about the prettiest place on earth.


Don't you love the old truck with a sign in the back for this organic farm?

  
We never get tired of admiring pretty horses.


My son "ooh-ed and aah-ed"  over this vintage truck, despite it's missing parts :)


My 9 year old daughter said of this charming little outbuilding, "You know Mom, I could live in that!"
 

Well, hello little fella!


Years ago, this historic farmhouse property was almost ours. It had a huge red barn, corrals, outbuildings and the original homestead log cabin still on the 3 acre property. It was going to be our country dream come true. But the seller ran into complications with the county which caused the whole deal to fall through. A developer bought this, and all the surrounding property. They tore down the barn and outbuildings and built a "fancy" subdivision surrounding the farmhouse, where the owners aren't even allowed to have animals. In the middle of farm and ranch country. Just crazy! The house was a little shabby back then, but I was going to make it so cute! :) It hasn't been touched since and has obviously fallen into further disrepair. Pretty sad, huh?


Well, let's head a little further down the road and take in some of the Colorado scenery, okay?


Notice the unusual wildlife in this location. 


We stopped at Rifle Falls State Park for our picnic lunch and a lovely nature hike.


I don't know what this breed of cow is really called, but we always refer to them as Oreo cows. 


One of the highlights of this time of year around here are all the lambs at the local farms. 
There's hardly a thing in the world cuter!


If lambs are the cutest, these next critters have got to be the most humorous looking! 


Alpaca farms are fairly common in this area, and these animals are always fun to see. 


 But when they've been shorn, they are just the most comical sight ever!


We squealed and giggled over these guys for about 15 minutes.


I hope we didn't offend them : )

We are getting closer to our mission.....


 Ahem...ladies...LADIES! You are not supposed to eat the Lilacs! I want those for my lovely farmhouse bucket in the middle of my table! Helloooo.....
 

 Mission accomplished!


I'll try to show you tomorrow how they look on my table.

Thanks for taking the scenic route with me, on the way to the Lilacs!

Jeanette 

Sharing over at:

Share Your Cup Thursday at Have a Daily Cup of Mrs. Olson 
Be Inspired at Common Ground 
Party Junk at Funky Junk Interiors
The Scoop