We moved
into our current home two years ago during a really rough time for our family. I was separated
and headed for a divorce and I needed to get out from under the family
home we had owned for six years. I was ready for the move, and grateful
to find a comfortable and safe place for me and four kids to "land" for awhile, but I guess I felt for a long time that this home would be temporary. While I love decorating, I didn't know what was coming next and I just wasn't capable of investing myself in decorating a home I would just have to leave. I just didn't have it in me.
Images:The Graphics Fairy
In the past several months I'm feeling a bit of a shift. I still don't know what's going to happen next, or how long we'll be in this home, but as I have more emotional healing from the divorce, I'm finding I have more of a desire to "nest" in this home. I'm quite sure blogging and Pinterest have helped to revive my desire to decorate!
Since moving in, the living room has been a mostly neglected space that I tend to avoid. In our home the entire main floor is one room, the living room-dining area-kitchen. It's a small, awkward space and tends to be taken over by kid stuff, school stuff, etc.
I had made some half-hearted attempts to hang things on the walls, etc, but never really tried to pull it together. My room is more comfortable and tends to be where we all end up in the evening to watch movies and read, etc.
So last week I decided that when all the Christmas stuff was out I was ready to invest some effort into making our living room a place where I might actually want to sit down and stay for awhile. I'm giving myself : Permission to Nest.
This is how it looked getting ready for Christmas

This is how it looked taking Christmas down : )
This is how it looked on Saturday-possibilities!
Keeping in mind my decorating budget is ZERO, I had to "shop" my own house to pull the room together. I brought the electric fireplace and faux mantel backdrop down from the master bedroom, along with a few other pieces.
Upstairs I used a black shelf as the faux mantel, but here I wanted it to be all white. I created this mantel shelf using an old drawer front and some shelf brackets I already had.
 Candles on the ottoman tray? Not likely in everyday life in this room, but I was fantasizing about being ALL ALONE in this room (ha!) with my tea....a book....some soft music, maybe? A girl can dream...


The same side-of-the-road crib I used for the mantel backdrop also became this chalkboard several months back.
Oh, awkward PIECE of brown SECTIONAL, how I loathe thee! Alas, we must try to make this relationship work for now! : )


 I was inspired by Karianne at Thistlewood Farms to freshen up a twig wreath I had put together before Christmas. I sprayed it white (including the vintage sheet music leaves that weren't coming off). Added one of my snowy owls and a vintage hanger.
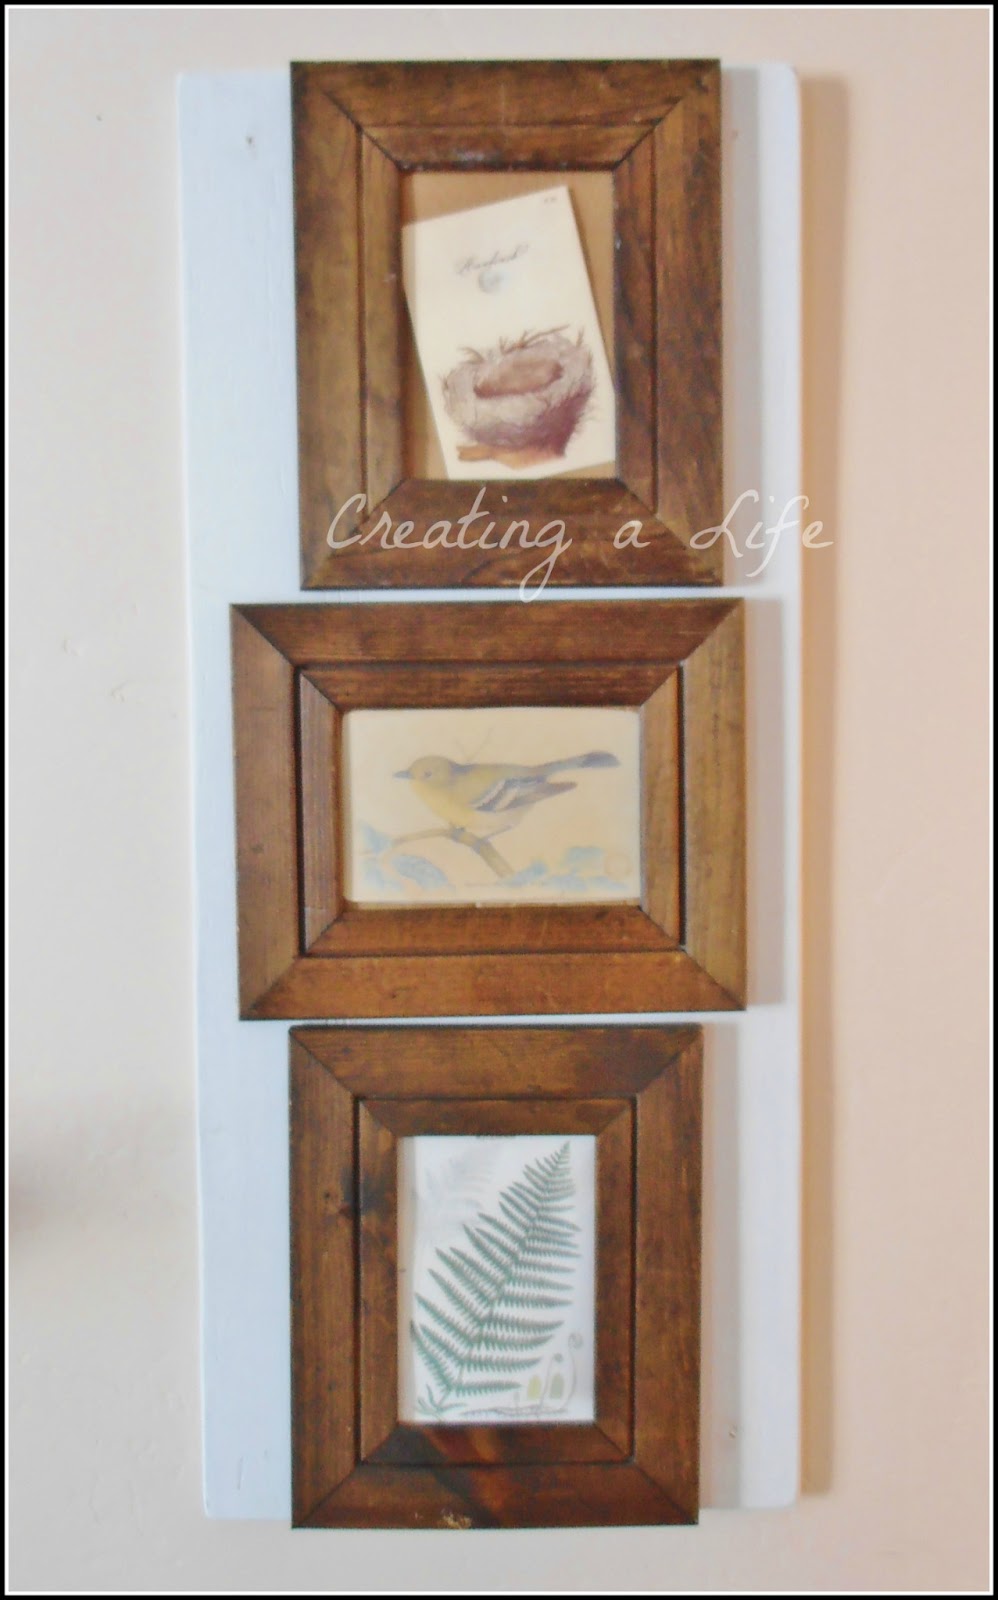
I tucked some nature inspired postcards and photocopies into these rustic frames and tacked them onto a white painted rough board, creating one larger piece
I was inspired by Karianne at Thistlewood Farms to freshen up a twig wreath I had put together before Christmas. I sprayed it white (including the vintage sheet music leaves that weren't coming off). Added one of my snowy owls and a vintage hanger.
I tucked some nature inspired postcards and photocopies into these rustic frames and tacked them onto a white painted rough board, creating one larger piece.
 My nearly 9-year-old Amelia is a prolific artist (and animal lover), and since she tends to spread out her supplies everywhere she goes, I thought I'd try to give her a little corner of her own here
.
 I used an old headboard to create a little backboard for the table. I won't mind if she tapes or tacks things onto it, and I thought the vintage hangers were kind of a charming addition.
This spot will certainly not contain all of her creative pursuits, but at least she'll have her own space to draw when we're together in this room.
I used an old headboard to create a little backboard for the table. I won't mind if she tapes or tacks things onto it, and I thought the vintage hangers were kind of a charming addition.
This spot will certainly not contain all of her creative pursuits, but at least she'll have her own space to draw when we're together in this room.
 I made this hotel sign several years ago from an old kitchen cabinet door.
 Checkers and cards are more realistic than candles : )
 This white crate has been one of the most versatile things I own. It has held firewood and toys, been a wall shelf, a book shelf and right now it's perfect for holding extra pillows and cozy winter blankets.


 This hobnail glass mug from Target was a Christmas gift from my daughter. I love it!!
Totally charming antique Stickley settee on loan from my generous friends in China!

I think I'm ready to spend some time in this room now. Movie,
popcorn, blankets,
yep. Nesting success!
If I end up having to leave this place soon and unexpectedly,
I'm going to need some hand holding, friends, ok?
Come join me over at:
Debbiedoo's Newbie with a Twist Party
Thistlewood Farms
Homemaker on a Dime
Knick of Time Tuesday
Vintage On A Dime-Welcome Home Wednesday
House on the Way-Twirl & Take a Bow
Savvy Southern Style-Wow Us Wednesdays
twelveOeight-Pretty Things Link Party!
Timewashed-Blissful Whites Wednesday
Coastal Charm-Nifty Thrifty Tuesday
Embracing Change-Creative Inspirations Party
StoneGable-Tutorial Tips and Tidbits
French Country Cottage-Feathered Nest Friday
Common Ground-Be Inspired!
The Charm of Home-Home Sweet Home
Funky Junk Interiors-SNS
Homemaker On a Dime-Creative Bloggers Party Hop
Diana Rambles-Pin Me!
Creative Cain Cabin-Budget Decorating Party