Related Posts Plugin for WordPress, Blogger...
Showing posts with label Valentine craft. Show all posts

Tuesday, February 11, 2014

Vintage Valentine's Day Printables


Hi guys!

Just popping in today to share a couple of vintage printable images you can use for Valentine cards, tags or other creative projects. 


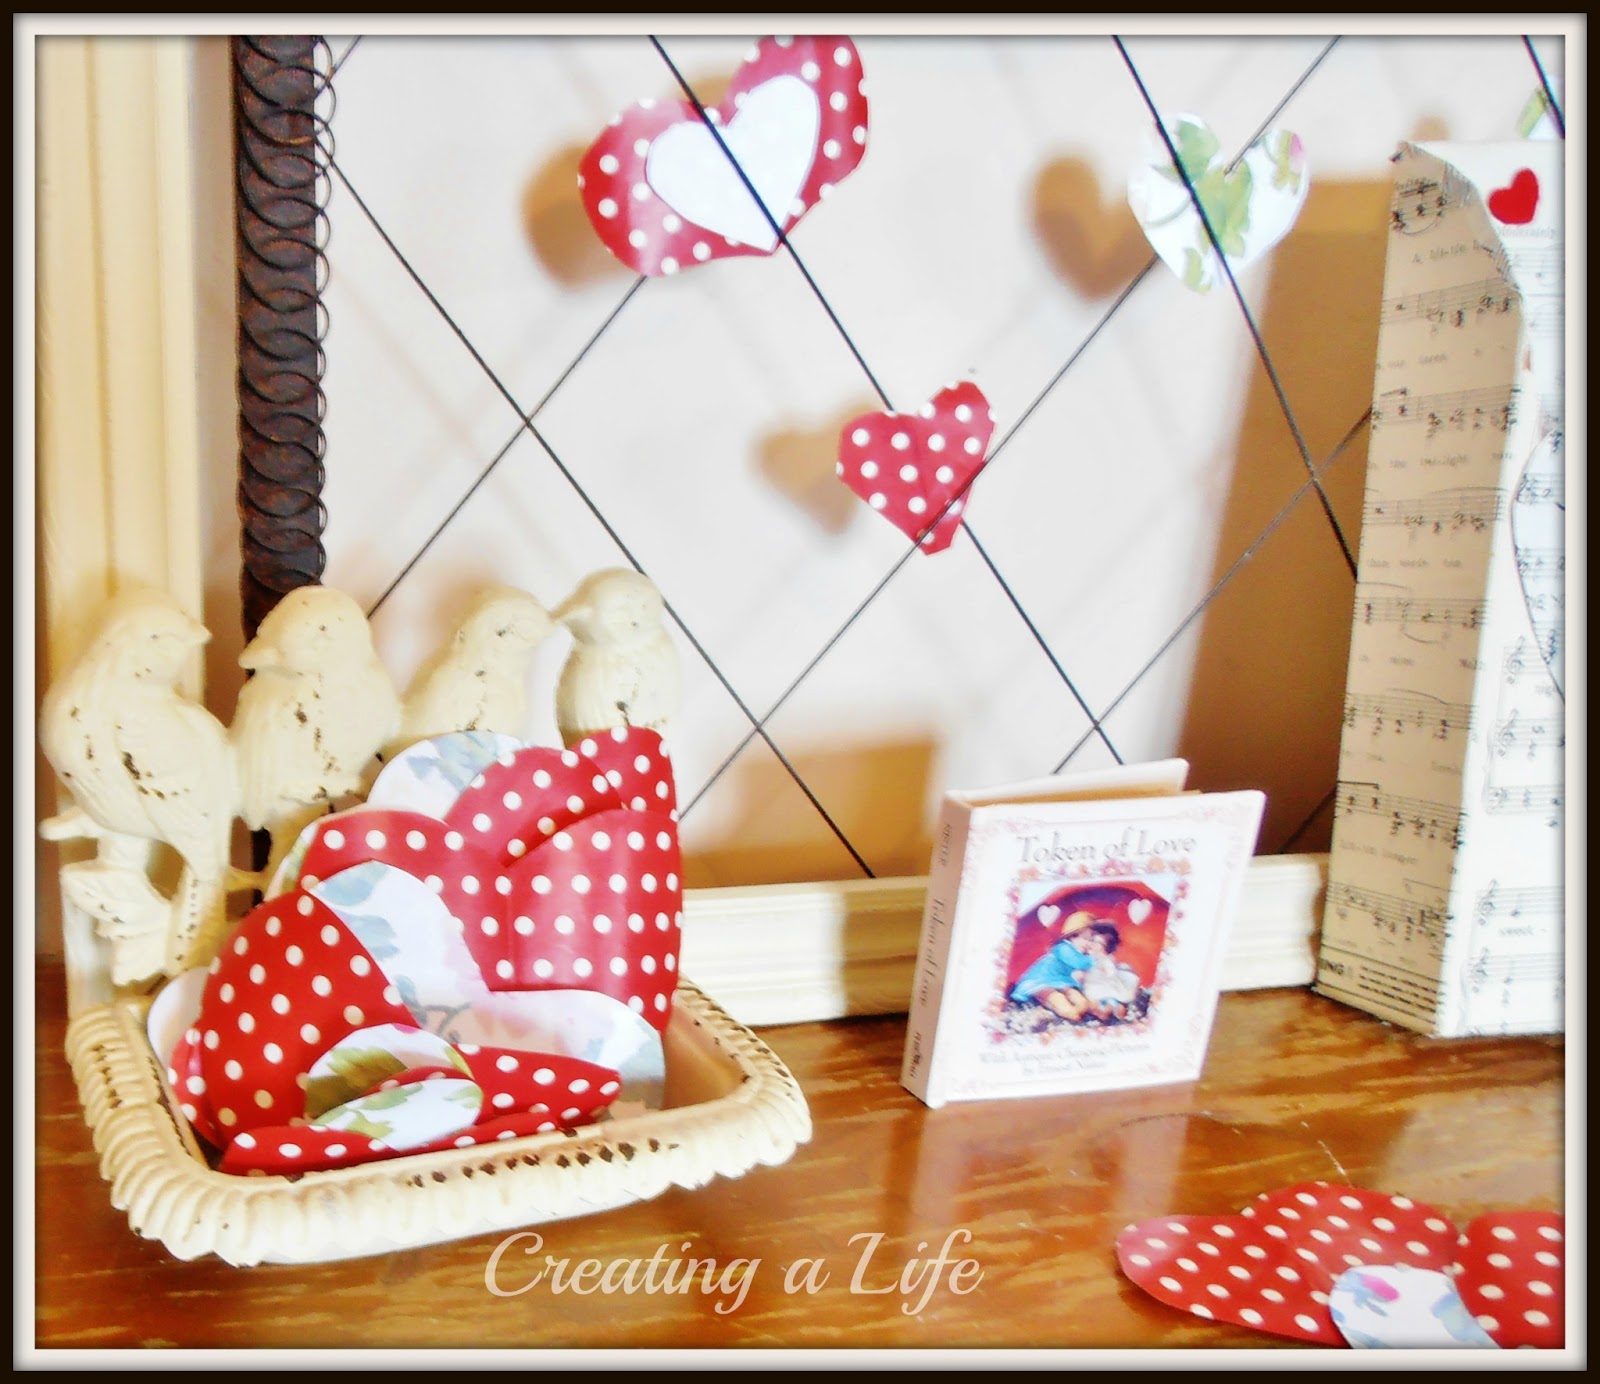
This vintage sheet music is from my own collection, and I've used it for several projects over the last couple of years. 


I decoupaged it to the love letter box that is on my Vintage Door Valentine Mantel right now. {Also shown in my blog header}

This would be really cute to make Valentine cones with, decoupage a keepsake box or even as a fun element on your vintage romantic Valentine's Day table. This could be the starting point for a sweet anniversary project, as well. The possibilities are endless! 


This sweet vintage postcard is also from my collection. Although it mentions a "get well message" on the edge, that is easily covered with ribbon or paper {or snipped off}. Of course, it could be used as a get well card, too : ) 


This postcard was the starting point for the wedding invitations I created for my daughter's DIY budget wedding {more about that here}

Simply right-click the images to save to your computer, and print in any size you need. For the postcard, you could also edit it with PicMonkey to add your own printed text. 

Happy Valentine creating, friends!

Jeanette

Saturday, February 8, 2014

Red Paper Heart Wreath


About this time last year, I shared with you a project where I made a heart shaped wreath out of recycled cardboard and brown paper packing material. 

It is still one of my most viewed posts!


{You can visit the original post here}


Then I figured out how to recreate the crinkled paper {sort of}, and shared another paper heart wreath I made with vintage sheet music. 


{You can visit that post here}


Recently, I've made some more paper heart wreaths for the shop using vintage sheet music and vintage dictionary pages. 


{Those are available here}


Awhile back, someone gave me some red paper gift bag filler, which is very similar to what I had used to make the other wreaths. 

I decided I was going to break out of my usual neutral theme and make a festive red heart wreath.


A little wild, huh? 


I added a vintage canvas hanging tie to it, and finished the back with vintage sheet music. 


This "wild and woolly" red heart Valentine wreath is available at the shop right now, and it really stands out : )

I hope you're having a good weekend, friends!

Jeanette


Sharing this week over at:
The Scoop at Worthing Court


Friday, January 31, 2014

Simple Cupcake Liner Heart


We are getting our first big snow here in western Colorado since we got back from southern California two weeks ago. 

Today I'm showing you a simple Valentine craft, perfect for a snowy, staying-in-the-house kind of day. 


Here's what you'll need:

Scrap cardboard for the heart frame
Cupcake liners 
Sharp scissors
Hot glue gun
Ribbon or strip of fabric to make a hanger for the heart


Cut out a heart shaped frame from a piece of cardboard (I used a piece of a box left over from Christmas) The edges don't need to be perfect because they will be covered. My heart is approximately 10" tall.


Shape the cupcake liners into a flower shape by gathering the top edge together and twisting the bottom. 


Flatten down the twisted bottom of the cupcake liners a bit and hot glue to the cardboard heart frame. I used about 25 for my heart, as a point of reference. Just fill in as full as you need to so there's no cardboard showing through. 


You could punch a hole in the cardboard heart frame (before gluing on the cupcake liners) for a hanger. But for this one, I just used hot glue to attach a strip of white cotton fabric


I hung mine with a cute vintage key. 


How simple is that? 

Hope you're staying cozy, friends!


Jeanette

Sharing over at
Be Inspired at Common Ground
Feathered Nest Friday at French Country Cottage
Inspiration Monday at twelveOeight
Make it Pretty Monday at The Dedicated House
Nifty Thrifty Tuesday at Coastal Charm
The Scoop at Confessions of a Plate Addict
Wow Us Wednesdays at Savvy Southern Style
Tweak it Tuesday at Cozy Little House
Inspire Me Tuesday at A Stroll Thru Life
The Inspiration Gallery at Craftberry Bush
Under $100 Party at Beyond the Picket Fence
Home Sweet Home at The Charm of Home

Friday, February 8, 2013

Valentine Love Note Station


Every year for Valentine's Day, my kids and I make cards for each other. Nothing wrong with that. Some years it has been all I could do just to direct them in that small effort. 

This year, I thought it would be nice if I had a little more of a firm plan for helping my kids let each other know just what it is that they love and appreciate about each other {and their mom, too!}


I decided to set up a Love Note Station. I wanted to make an easy "destination" we will take turns at once a day until Valentine's Day. 


We can sit down and pick up a paper heart from the bird dish, or the message board, and just write one thing (or more!) about each family member that we love and/or appreciate that day.

 I showed you recently how I used a pretty kleenex tissue to print paper to use for some heart shaped notes.
 We also used some leftover red and white polka dot Christmas wrap to make heart shaped note paper.


After we write our notes {my five year old will need help from mom and sisters, of course} we will put them in our love note box.

We've already had a bumpy moment when my 9 year old just couldn't bring herself to come up with something nice to say about her 15 year old sister who had hurt her feelings. Sigh. We'll be working on that... {they really are great friends!}


 It was fun working on this together with Amelia! We started with an empty cereal box. We cut it in the shape we wanted and she glued some vintage sheet music love songs all over it. We cut a separate heart out of another cereal box and glued sheet music to that and stuck it (glue stick) to the front of the box.


Finally, I stuck on a couple of hearts cut out of red craft felt.


On Valentine's Day, while we are enjoying something sweet together, we're going to take out all of our hearts and read them out loud to each other.  


We have lots of "togetherness" in this family, and sometimes (many times) that means conflict. I'm really hoping that if they put some effort into seeing the good in each of their family members each day, those conflicts we be easier and quicker to resolve. A mom can hope, right? 

What are you appreciating about your loved ones today? I hope you will take a moment to let them know. 

Friday blessings to you, my friends! 


Sharing over at:
Common Ground- Be Inspired! 
Diana Rambles-Pin Me! link party 
Funky Junk Interiors-SNS Valentines! 
Fox Hollow Cottage- Power of Pinterest
Craftberry Bush-Inspiration Gallery  
Alderberry Hill-Make the Scene Monday 
Homemaker on a Dime-Creative Bloggers Party Hop
Cozy Little House-Tweak It Tuesday  
The Dedicated House-Make It Pretty Monday
Decor to Adore-Valentine Link Party  

Thursday, February 7, 2013

Another Paper Heart Wreath?

So, I don't want to run the paper heart wreath into the ground, but I had some questions about how to make the paper shreds on my original Recycled Paper Heart Wreath


The point of the project was that I made a wreath out of some discarded paper and cardboard items that were just lying around here.

When I was asked about how the paper was made, I was really thinking, "who in their right mind would make all those little crinkly pieces of paper??" 

Can you now see me raising my hand, sheepishly? 

It turns out it's pretty darn easy to make some crinkly pieces of paper, provided you have a good sharp pair of scissors.

Let me show you how I did it with some vintage sheet music. 

 
 I started with 5 sheets of paper and folded them all together just because it's quicker than folding each individual piece. You will separate the sheets before cutting.


I began folding the paper accordion style, like when making tissue paper flowers.


The smaller your folds, the more crinkly the final pieces.


When you're done folding it will look something like this. Sort of fan-like. Now you will separate the sheets.

Take an individual sheet of paper and refold it along the accordion fold. Holding it together, use your sharp scissors and begin snipping the end off in thin strips.


This is what you end up with from five sheets of paper. The wheels are already turning....This could be cute gift bag filler...or?..hmm. 

Okay, stick to the project at hand!

The folds are not exactly like the original one with the packing paper, but still kinda fun, right? Any old paper could work. I was even thinking of trying one made out of newsprint. I think I used about 10-12 sheets altogether to make this wreath.


That's my grandparents, WAY back when. They were so cute :)

One little tip: If you decide to make one of these paper wreaths, and think you might want to hang it in front of a mirror, cover the back of the wreath with paper also! That way you won't see the not-so-pretty cardboard backing in the mirror.


I was having fun taking a few shots of the wreath hung from one of my old windows : )

The snow is looking pretty thin on the mountain back there today!


Alrighty then, now you know. If you're feeling ambitious, and you've just gotta have some of that crinkly paper, it's really not hard at all. 
Hope you're having a good week, and see ya soon!

Jeanette 

Sharing over at:
Diana Rambles- Pin Me! link party 
Funky Junk Interiors- SNS
Creative Cain Cabin-Budget Decorating 
Knick of Time Tuesday  
Coastal Charm-Nifty Thrifty Tuesday 

Monday, February 4, 2013

Love Letter Note Box {and Free Printable!}

 I put together this little love note box for the shop today using a vintage letter box and more of that vintage sheet music I love so much.


 I added a little shabby fabric scrap ribbon.


It would be sweet for Valentine's Day, but I'm also thinking it could be darling for people to write notes to a bride and groom at a vintage inspired wedding! Maybe I'll make a bigger one just for weddings? 

Today I thought it would be fun to share one of the pieces of vintage music I used, as a free printable for you.
I know time is getting tight for Valentine's Day projects, and I wish I'd thought of giving this to you sooner!


If you love vintage sheet music like I do, I know you'll come up with some other fun things to use if for besides Valentine's Day. Just right-click on the image to save to your computer, and have fun with it! 

Happy Monday, my friends!

Jeanette 

Sharing over at:

Have a Daily Cup of Mrs. Olson-Share Your Cup Thursday 
Diana Rambles- Pin Me! link party 

Friday, February 1, 2013

Simple LOVE Banner


I don't usually do alot of decor for Valentine's Day, but I knew I was leaning toward doing a more neutral scheme in the things I would put out this year. Don't get me wrong, I LOVE looking at all the fun and colorful inspiration out there! In years past I've done more red and pink, but for some reason this year I'm in the mood to keep it more neutral {I'll do some colorful things for the kiddos!}


Sometimes an idea for a project pops in my head and I just grab what's in front of me and go for it. I had this scrap of linen-like fabric (I think it was a shower curtain in another life) that I thought I could easily turn into a LOVE flag banner. Here's what I did:


There was already a finished edge on the scrap of fabric, so I decided to just make that the top of each flag. I cut four rectangles, leaving the bottom rough, since I would be trimming that into the flag shape. No measuring, I just cut one the size I wanted and used it as a guide for the other three.


 I folded one of the rectangles in half lengthwise and trimmed the bottom at an angle giving me the flag shape I wanted at the bottom (just like you might do with a piece of ribbon to finish it).


Now I just used that first trimmed piece as a guide for the other three. I folded it back in half and put it on top of another folded rectangle, held the two pieces together and simply trimmed the bottom piece along the same angle.


 Four flags finished in no time at all!


I grabbed my plastic letter stencil sheet and an ink pad, and used my finger to rub the ink through the stencil. Please feel free to use whatever tools work best for you : )


Letters done, quick and easy!


I cut another finished edge off of the same fabric and simply hot glued each flag to it, and I'm done! You could also use a ribbon or piece of twine, etc.


 Soft, simple, neutral. It would be easy to embellish with a little lace or trim...hmmm.


As with my Recycled Paper Heart Wreath I shared yesterday, I'll show you this weekend how my neutral Valentine vignette all comes together. Thanks for coming by and see you soon!

Jeanette 

Come share over at:

Savvy Southern Style-Wow Us Wednesdays