Related Posts Plugin for WordPress, Blogger...

Tuesday, February 12, 2013

Spring! Egg Carton Mini Baskets


Here in Colorado real Spring is quite a ways off. I'm not really one to leap ahead to the next season very quickly, but I admit that the pretty Spring colors I'm seeing on Pinterest and some blogs have got me dreaming! 

I know it's barely mid-February, but I'm going to share a Spring craft with you. Super easy, super cute and as colorful as you'd like to make them!


Let me say I did not come up with the basic idea of these egg carton Spring baskets myself. A few years ago-long before I ever imagined blogging-I saw this idea online. I don't remember what website it was, but I saved the concept in my "idea file" and have made them for the past few years. 

Here's what you will need:


Standard paper egg carton
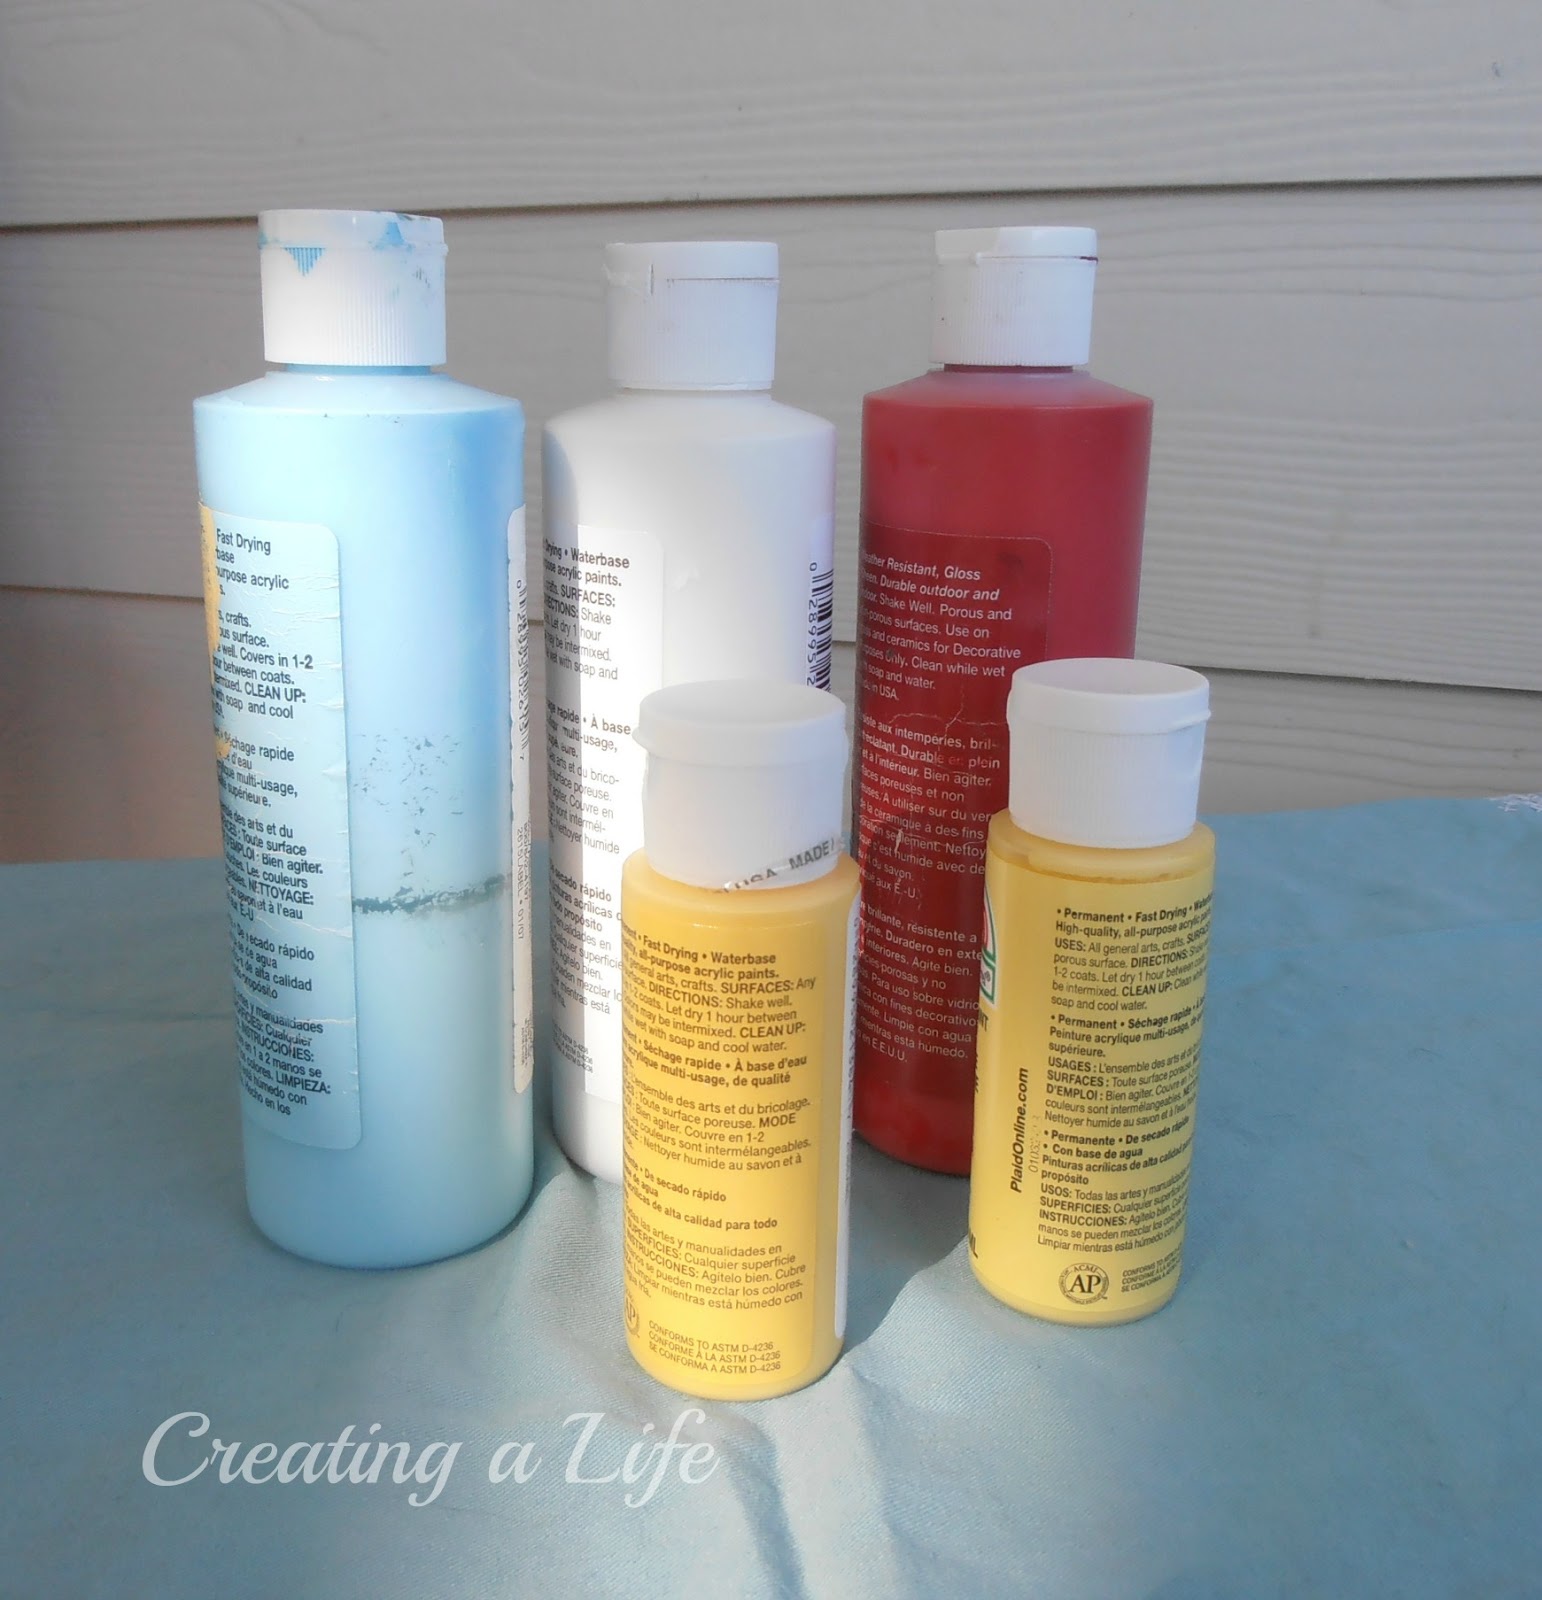

Craft paint (any kind of paint will do, actually) in pretty Spring colors. I don't have any pink, so I'll mix some red and white.


Colored paper clips OR pipe cleaners OR twist ties. I used paper clips, but you can use anything that can be shaped into a handle.


If you are using paper clips, it helps to have needle nose, or regular pliers to bend the ends with.


 Some little bits of ribbon, paper or fabric flowers, buttons-really any little thing you'd like to embellish your baskets with. To make a little hole for the handles you can use a small hole punch, but I've found a nail or a tack works just as well. You'll also need a pair of scissors, and glue. I used a hot glue gun for mine.


 Lastly, something to fill your little baskets. Shredded paper, Easter grass, Spanish moss-whatever you like. I used some brown shredded paper for mine. 


Here's what you do:


Begin by cutting the sections of the egg carton apart.  


Next, use your scissors to trim each section into something of a flower shape. No need to be too literal, unless you just can't help yourself : )


Once you have a shape you like, you can bend each "petal" back slightly, being careful not to tear the paper.


Now for the fun part-decorating!


If you're as lucky as me, you can grab yourself a cute little helper!

 I found a few aqua ones from last year! I think that color is my favorite.


Once all your little baskets are painted and dried, it's time to make the holes for the handle.


If you accidentally make a hole too close to the edge, like I did here, don't worry. It won't show when you're all done.


Shape your paper clip into an arch, bend the two ends inward and  tuck them into the holes. Use a bit of hot glue to hold them in place on the inside if necessary.


 Handles done! Easy, right?


To make the little "Spring!" flag for the handle, I simply printed the word in a font I liked and cut them into a flag shape. If you have nice handwriting (I don't!) you could certainly write them by hand.


Make a little fold in the paper, wrap around the handle and glue the paper together holding the flag in place. Don't forget you can change the word to whatever suits your occasion. You might want yours to say Happy Easter!


I forgot to photograph adding the little embellishments, but I think you get the idea. Choose a little ribbon or flower, etc and glue it to the handle or the side of the basket.


 Add your basket filler, and that's it! 


I wanted to show you how cute they are with Spring colored 
M & M's, or Robin's Egg candies, but I couldn't find any this early!


They would be darling for Spring party favors or placecard holders at your Easter table. 


Happy Spring dreaming, my friends!


Jeanette 


Sharing over at:
Be Inspired at Common Ground

Mums Make Lists-Empty Your Archive


The Scoop Mega Spring Party
Vintage On A Dime-Welcome Home Wednesday 
Savvy Southern Style-Wow Us Wednesdays 
Cowgirl Up! 
Embracing Change- Creative Inspirations! 
From My Front Porch to Yours-Treasure Hunt Thursday 
StoneGable-Tutorials Tips and Tidbits 
Have a Daily Cup of Mrs. Olson-Share Your Cup Thursday 
The Charm of Home-Home Sweet Home 
Common Ground-Be Inspired! 
Diana Rambles-Pin Me 
Fox Hollow Cottage & Debbiedoo's Power of Pinterest Party 
Six Sisters' Stuff-Strut Your Stuff Saturday 
Two Succulent Sisters-What to do Weekends 
It's Overflowing-Overflowing With Creativity
Coastal Charm-Nifty Thrifty Tuesday 
Clever Chicks Blog Hop
Craftberry Bush-The Inspiration Gallery
Party Junk Easter Projects at Funky Junk Interiors  
 

Monday, February 11, 2013

Pretty Tools


 Homemaking is a job. Sometimes it's a tiresome job, full of repetitive and mundane tasks.


Like all jobs, homemaking requires the use of certain "tools". As I folded the never-ending laundry pile one day, I glanced over at my nice little stack of kitchen towels.


These are some of the hardest working tools of this homemaker. Yes, they are worn and faded and stained, but I still think they are pretty!


Their patterns and colors make me feel happy and more content to be doing my "job". 

It's very grey and gloomy (and a little snowy) here today and I'm just so grateful for pretty tools that add a touch of cheer to the mundane : )

"The power of finding beauty in the humblest things makes home happy and life lovely." -
 Louisa May Alcott 


Friday, February 8, 2013

Valentine Love Note Station


Every year for Valentine's Day, my kids and I make cards for each other. Nothing wrong with that. Some years it has been all I could do just to direct them in that small effort. 

This year, I thought it would be nice if I had a little more of a firm plan for helping my kids let each other know just what it is that they love and appreciate about each other {and their mom, too!}


I decided to set up a Love Note Station. I wanted to make an easy "destination" we will take turns at once a day until Valentine's Day. 


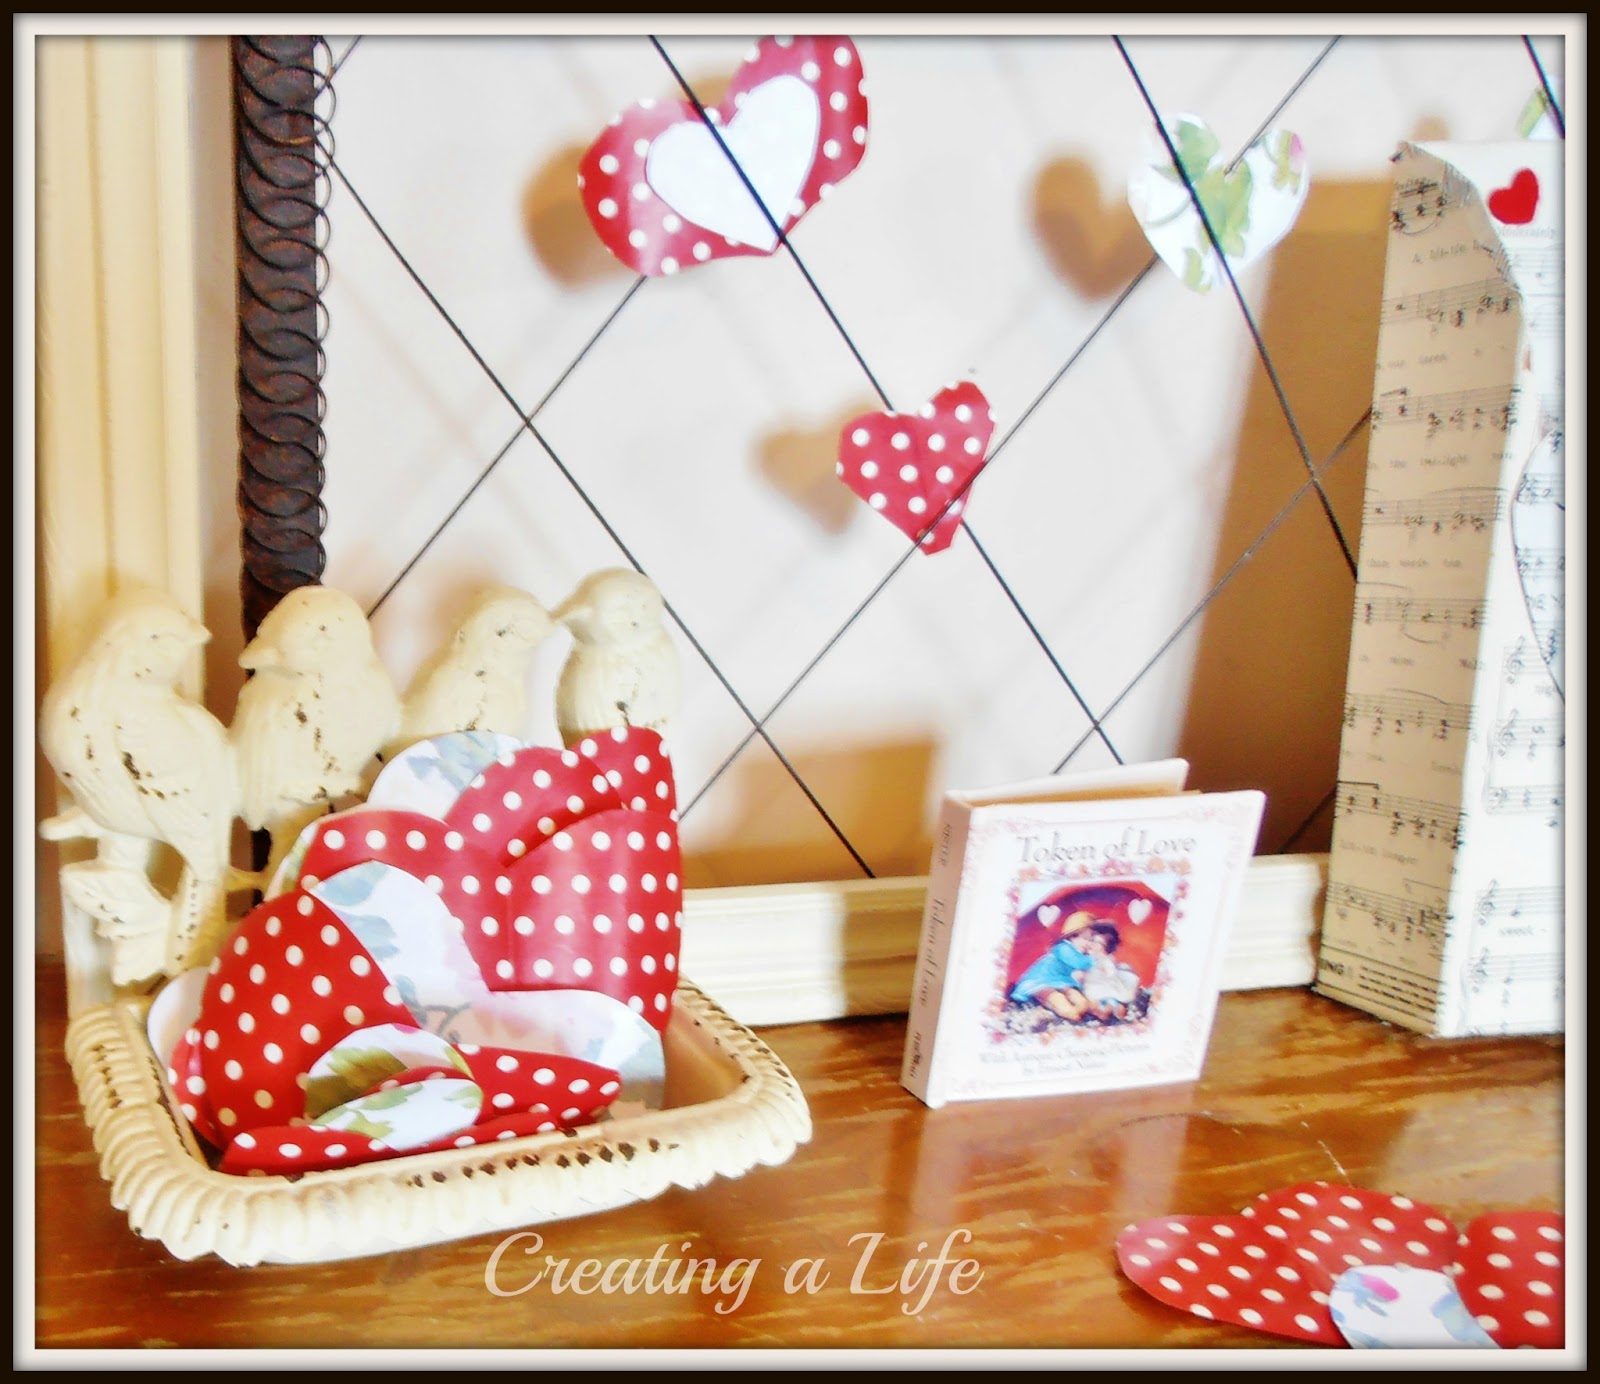
We can sit down and pick up a paper heart from the bird dish, or the message board, and just write one thing (or more!) about each family member that we love and/or appreciate that day.

 I showed you recently how I used a pretty kleenex tissue to print paper to use for some heart shaped notes.
 We also used some leftover red and white polka dot Christmas wrap to make heart shaped note paper.


After we write our notes {my five year old will need help from mom and sisters, of course} we will put them in our love note box.

We've already had a bumpy moment when my 9 year old just couldn't bring herself to come up with something nice to say about her 15 year old sister who had hurt her feelings. Sigh. We'll be working on that... {they really are great friends!}


 It was fun working on this together with Amelia! We started with an empty cereal box. We cut it in the shape we wanted and she glued some vintage sheet music love songs all over it. We cut a separate heart out of another cereal box and glued sheet music to that and stuck it (glue stick) to the front of the box.


Finally, I stuck on a couple of hearts cut out of red craft felt.


On Valentine's Day, while we are enjoying something sweet together, we're going to take out all of our hearts and read them out loud to each other.  


We have lots of "togetherness" in this family, and sometimes (many times) that means conflict. I'm really hoping that if they put some effort into seeing the good in each of their family members each day, those conflicts we be easier and quicker to resolve. A mom can hope, right? 

What are you appreciating about your loved ones today? I hope you will take a moment to let them know. 

Friday blessings to you, my friends! 


Sharing over at:
Common Ground- Be Inspired! 
Diana Rambles-Pin Me! link party 
Funky Junk Interiors-SNS Valentines! 
Fox Hollow Cottage- Power of Pinterest
Craftberry Bush-Inspiration Gallery  
Alderberry Hill-Make the Scene Monday 
Homemaker on a Dime-Creative Bloggers Party Hop
Cozy Little House-Tweak It Tuesday  
The Dedicated House-Make It Pretty Monday
Decor to Adore-Valentine Link Party  

Thursday, February 7, 2013

Another Paper Heart Wreath?

So, I don't want to run the paper heart wreath into the ground, but I had some questions about how to make the paper shreds on my original Recycled Paper Heart Wreath


The point of the project was that I made a wreath out of some discarded paper and cardboard items that were just lying around here.

When I was asked about how the paper was made, I was really thinking, "who in their right mind would make all those little crinkly pieces of paper??" 

Can you now see me raising my hand, sheepishly? 

It turns out it's pretty darn easy to make some crinkly pieces of paper, provided you have a good sharp pair of scissors.

Let me show you how I did it with some vintage sheet music. 

 
 I started with 5 sheets of paper and folded them all together just because it's quicker than folding each individual piece. You will separate the sheets before cutting.


I began folding the paper accordion style, like when making tissue paper flowers.


The smaller your folds, the more crinkly the final pieces.


When you're done folding it will look something like this. Sort of fan-like. Now you will separate the sheets.

Take an individual sheet of paper and refold it along the accordion fold. Holding it together, use your sharp scissors and begin snipping the end off in thin strips.


This is what you end up with from five sheets of paper. The wheels are already turning....This could be cute gift bag filler...or?..hmm. 

Okay, stick to the project at hand!

The folds are not exactly like the original one with the packing paper, but still kinda fun, right? Any old paper could work. I was even thinking of trying one made out of newsprint. I think I used about 10-12 sheets altogether to make this wreath.


That's my grandparents, WAY back when. They were so cute :)

One little tip: If you decide to make one of these paper wreaths, and think you might want to hang it in front of a mirror, cover the back of the wreath with paper also! That way you won't see the not-so-pretty cardboard backing in the mirror.


I was having fun taking a few shots of the wreath hung from one of my old windows : )

The snow is looking pretty thin on the mountain back there today!


Alrighty then, now you know. If you're feeling ambitious, and you've just gotta have some of that crinkly paper, it's really not hard at all. 
Hope you're having a good week, and see ya soon!

Jeanette 

Sharing over at:
Diana Rambles- Pin Me! link party 
Funky Junk Interiors- SNS
Creative Cain Cabin-Budget Decorating 
Knick of Time Tuesday  
Coastal Charm-Nifty Thrifty Tuesday